
Here are some notes for how I set up my Zoom H5 recorder. You can apply most of this to the H6 too.
I use this Zoom microphone/recorder while making audio documentaries. I mostly use it with the internal stereo mic in run and gun situations (ie recording scenes, atmos, and voxpops).
Here’s a link to the Zoom H5 manual and here’s the Zoom H6 manual. And if you get stuck there are heaps of videos on YouTube.
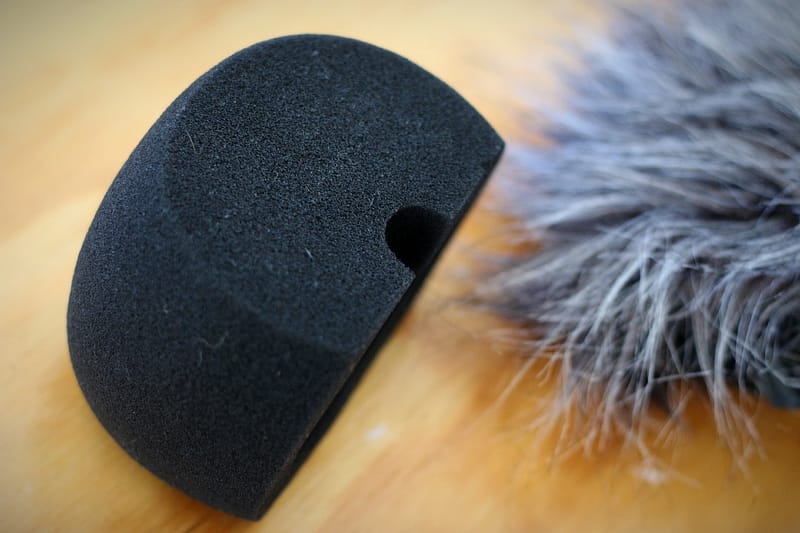
1. If your zoom didn’t come with a pop filter, you need to get one. Get the specific one made for the recorder; it’s shaped to fit. Recording outdoors? You’ll need a fluffy to prevent wind wrecking your audio.
2. Turn on the recorder (you’ll need batteries and an SD card, of course)
3. Press L or R on the front panel – you’ve activated the in-built stereo mic capsule
4. Turn the gain knob on the mic capsule to around 7 or 8
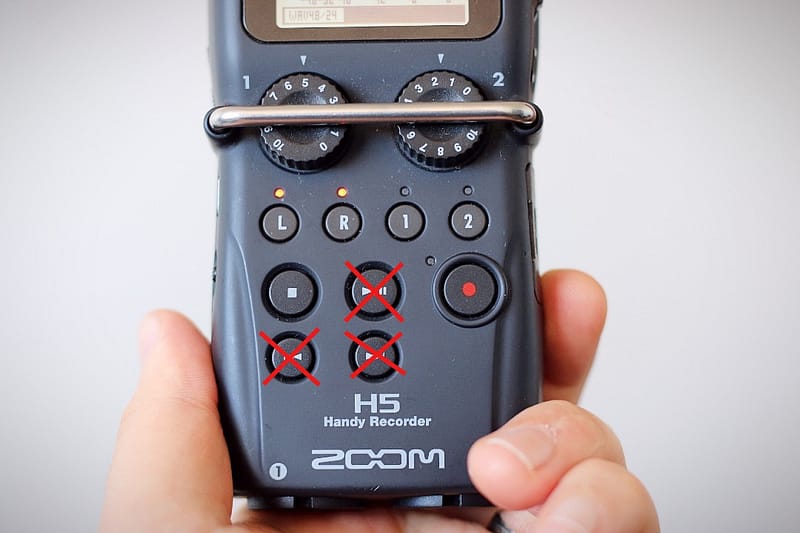
5. Press record [the red circle] – you are rolling. Well done! Press stop [white square] when finished.

Intimidating at first, after you have a play you’ll find it’s not that bad.
There’s only nine, and half of them we don’t need to bother with.
Also, once we do this initial setup, we won’t need to tinker with them too often.
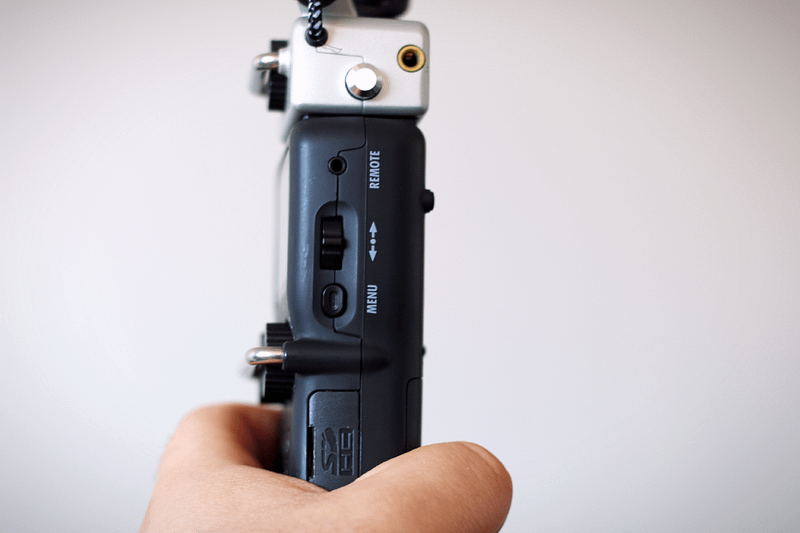
1. Press menu button (on right hand side)
2. Use up and down toggle button to move through menu items (above menu button)
3. Press the centre of the toggle button to select an item.
4. Press menu button to ‘go back’.
Forget about it.
Forget about it.
I let the zoom default handle the file management. I don’t create custom folders because I’m not storing hundreds of clips on my SD card at a time. My workflow is built around clearing the card after each recording session. I name my files (with my naming convention) after I’ve transferred them from the card (and before I import it to edit).
LO CUT – Toggle down to ‘ALL’ and turn it OFF
COMP/LIMITER – Toggle down to ‘ALL’ and turn it OFF
In1/2 PHANTOM – we’ll come back to this
PLUGIN POWER – OFF
In1/2 PAD (-20) – Toggle down to ‘ALL’ and turn it OFF
In1/2 MS MATRIX – OFF
L/R MS-RAW MONITOR – STEREO
MONITOR MIXER – ON
LINE OUT LEVEL – 0db
For documentary work (and everything really), I know I’m going to process the audio in post. This includes adding EQ, compression and limiting. I don’t need to add it in direct from the recording. But also, I don’t want it – letting zoom apply FX automatically is risky because it might not be to my taste and limits me. At the recording stage, I want my audio as ‘clean’ and unprocessed as possible.
REC FORMAT – WAV48kHz/24bit (maximum quality!)
AUTO REC – OFF
PRE REC – ON
In L/R BACKUP – ON (this is cool! makes another recording at same time but -10db. So if something distorts I will probably be OK. Rarely need it but has been useful a couple of times)
PROJECT NAME – DEFAULT (see workflow notes above)
COUNTER SETUP – COUNT UP (My card is massive, no point counting down 5 hours, more useful during an iv to know how long it’s been running)
SOUND MARKER – OFF
Forget about it.
Metronome? Useful, if you’re Jimi Hendrix. Forget about it.
DATE/TIME – Yeah, better set this
BACKLIGHT – ON (I keep it on, I need to see levels, especially because I don’t always use headphones. Worth the extra bit of battery life it uses IMO)
DISPLAY CONTRAST – 1
BATTERY TYPE – depends what you’re using. I have it on alkaline, even though I’m not always using alkaline (?)
FIRMWARE VERSION – ahh yeah, should probably check if you need to update. Go to the zoom website. You use the USB card to install an update.
FACTORY REST – we’re just setting it up, we don’t want to reset it!
REMAIN – if I wanted nothing to change, I wouldn’t have pressed menu.
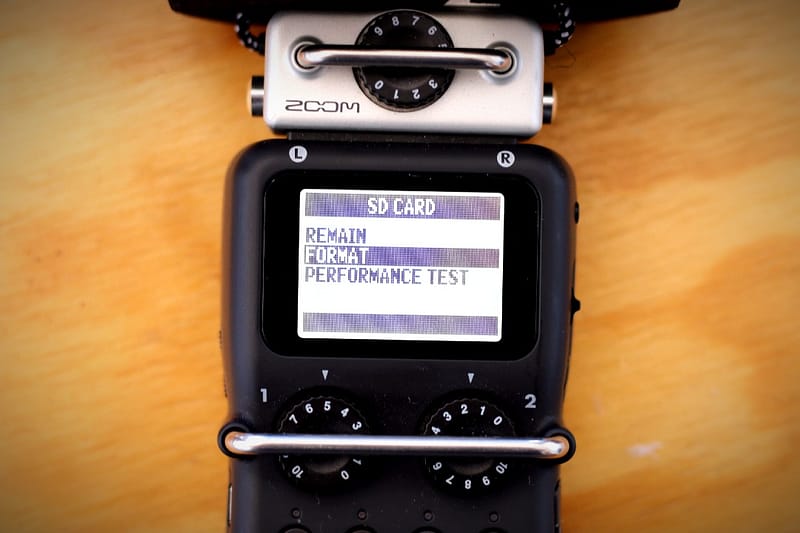
FORMAT – select this if you need to format your card. Formatting before every recording session is best practise. It’s not just about clearing your card, it reconfigures the card to work with the device. Card problems are generally caused because the card wasn’t formatted regularly to the device.
PERFORMANCE TEST – this ain’t the F1, forget about this.
SD CARD CARD READER – when hooking up to computer via USB cable to to transfer files. Go here if you have any problems.
AUDIO INTERFACE – you can use your zoom as an audio interface! This means you can link your mic up to your computer via the recorder and record directly into your computer. This could be good for zoom (the other zoom) interviews instead of your computer mic.
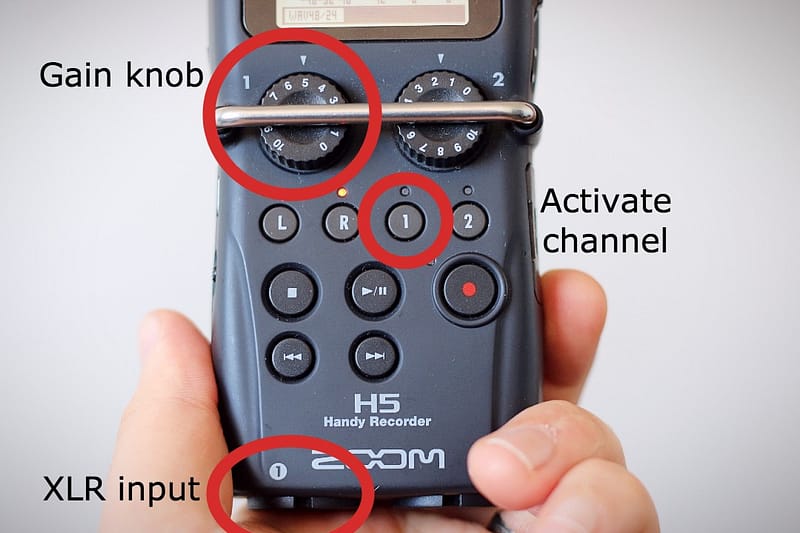
1. Plug your external mic into an XLR input.
2. Press the input button that corresponds to the input you’re using – this will ‘activate’ the channel.
3. Turn up the gain knob on the same input channel.
4. You don’t hear anything? That’s OK, you might have a mic that needs to be powered. The power will come from the batteries in the recorder; we call this ‘phantom power’ (ohhh scary!)
5. Press your menu button. Toggle to ‘IN/OUT’.
6. Toggle to ‘In1/2 PHANTOM’, then select ON/OFF.
7. Go to the input you want to turn on, select it. Press ON.
8. Press menu to go back to the monitor screen. You have signal!
Monitoring level – to turn up your headphone monitoring level, press the + button on the left hand side of the recorder. Because I’m mostly recording interviews and atmos, I have mine set high, about 95%.
The inbuilt stereo capsule – look at it. There are two mics facing diagonally. This is called ‘stereo X/Y’. How you point the microphone will determine where your subject is placed within the stereo field. Experiment with headphones to understand this pickup pattern.

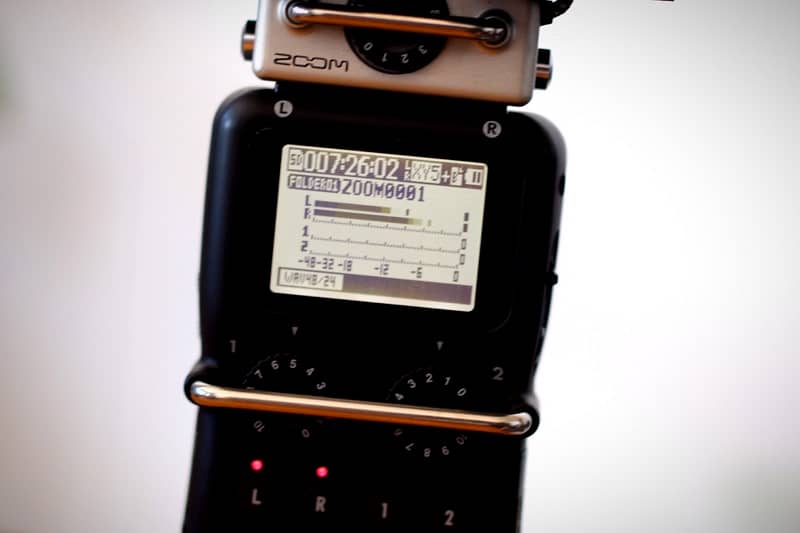
To record – press the record button; a light will come on and you will see the timer begin. This is how you know you are recording.
Playback buttons – on the front of the device. These are a trap. Never go near these buttons, there is no reason why you need to listen back to a file you’ve just recorded in the field. Also, pausing a recording will end in tears. One day you’ll forget to restart it. It’s only a matter of time. Avoid this by never using it.
Another point on recording – a rookie error is to start and stop recordings. This isn’t ideal. You end up with more files, which means more file management. It takes extra time to stop and start, so you’ll probably miss something, and you limit yourself with atmosphere. Record in bigger slabs and everything will be easier. Trust me!
One final thing on recording – it does take a minute for zoom to process the file after you stop it. Extra time is needed, especially if you have the backup recording running too. Don’t be alarmed, that’s just the way this recorder is. Another reason to limit the stop/start.
I lied, final thing – when recording, you want your levels to sit between -6 and -12db. When you hit 0, the signal will peak (this is bad) and the red lights will flash.
Handling noise – soft hands, he’s sensitive! Test and experiment and you’ll get the feel. You could look at a bit of foam, or a handle. Don’t use those gorilla tripods, they make too much ‘clacking’ noise.
That’s all I can think of, happy recording!
Did I miss something, or do can you help me tweak something to make it better? Please tweet me!